Living in a place with snow and terrain worth exploring (sorry Great Plains), it was time to join in on the fun that is snowshoeing! The season has only just started, but I’ve not only gone a couple of times, I’ve dived into avalanche awareness classes, gear reviews as someone in my life debates what to as they transition out of rentals, and tested out what stuff I have already to make this not only a fun activity but a budget-friendly investment. And what better way to consolidate this than sharing the wealth of research and first hand experience? So let’s talk about how to snowshoe!
Shortcuts:
- What are snowshoes?
- How to Use Snowshoes & Gearing Up
- How Much Snow Do You Need to Snowshoe?
- My First Time
- 4 Things I Wish I Knew Earlier in My Snowshoe Journey
What are Snowshoes?
Snowshoes are type of shoe add-on that allows for easier walking through the snow. Sounds pretty straight forward, right? I’d like to think so! Since the beginning of time, people have snowshoed and are, thankfully, well evolved from the days of stretched skins and fibers. A colleague mentioned how much they have changed from her childhood days in Alaska. I thought this was endearing–she also isn’t as old as she’s making herself sound so rephrasing her words–snowshoes have come a long way in the past few decades.

Snowshoes can often resemble anything from high tech tennis rackets to the foot measurement devices used for gauging shoe sizes. Depending on how much gross weight is going on the shoes–remember packs and snacks add up!–folks will want longer snowshoes–the length helps offset the weight for level walking. Snowshoes indicate the length and how much weight they can max load for optimal use. Rentals at places like REI may include extra length via “tails” that can help increase the load it can carry as well as help out on extra powdery snowfall days.
Likewise, for extra support, I strongly recommend trekking poles. Normal hiking ones can be used, just add in or switch out the bottom attachment (some trekking poles may have sandy/muddy assists on them) for snow baskets. Consider them snowshoes for trekking poles, these baskets help keep the poles from not puncturing down to the base snow.
How to Use Snowshoes & Gearing Up
Personally, the hardest part of learning how to snowshoe is making sure a person is properly strapped in. Loose snowshoes can let snow/ice in between snowshoe and shoe, making it harder to use. Likewise loose snowshoes risk shoes sliding out and risk twisted ankles. The ideal fit is snug, not tight. The ball of the foot should be atop the crampon (the metal teeth that cut into the ice). Additionally, if the style of snowshoe has a top strap, the strap should align with the ball of the foot to help drive the crampons with ease.
Okay, everyone’s strapped in and ready to walk. Thankfully, it’s just like walking, but with the mindfulness of a wider stance due to the long snowshoes! While people are used to their natural gait, snow shoes can add up to a total of 30″ base length to stride. I have noticed because of this I prefer a wider stance, and to trail a little farther apart when snowshoeing with others.
Which Shoes Go Well With Snowshoes?
As a note, since snowshoes require strapping into them, any shoe can be used! My personal recommendations are hiking shoes or snow boots. I have tried both and I would say for more ankle support, I prefer hiking shoes. However, if the route/weather intended for snowshoeing is severe, the extra insulation from snow boots, paired with diligent tightening (if possible) of snow boots, tend to win out. The snowshoes cover all grip needed for the trail, so the shoe is more so there for comfort and ankle support. Gaiters are a recommendation as well to help prevent snow from getting into any shoe and creating an uncomfortably wet trek.
Gearing Up!
Speaking of other gear, layering is so important. Given weather can change quite rapidly depending on where the trail is (mountains, for example), ensuring a solid base layer and waterproof external layer will go a long way. As well as sunglasses/goggles of some form as fresh snow can be blinding even in overcast conditions. And sunscreen, as anytime outdoors should include some on as a preventative measure for burns or worse.
Snowpants are popular, as are tights underneath waterproof hiking pants. Beanies/hats for warmth, because even if the outermost layer has a hood, extra insulation is a welcome thing. Throw on some gloves and bring a spare set of socks, and it’s time to get out ther!
Snacks are always encouraged! See my post on Pacific Northwest Hiking to cover more day hike essentials, which is still applicable here!

How Much Snow Do You Need to Snowshoe?
To fully engage in the crampons, 6 inches in the minimum recommended amount of snowfall. What this really means is a base layer of snow needs to be established on the area intended to snowshoe in. I have tried snowshoeing in less and where the base layer of snow was not established, it felt more like flopping around on land around the trail until the base layer areas were found again.
Other important information, such as snowshoeing etiquette is covered in this article by Snowshoe Magazine.
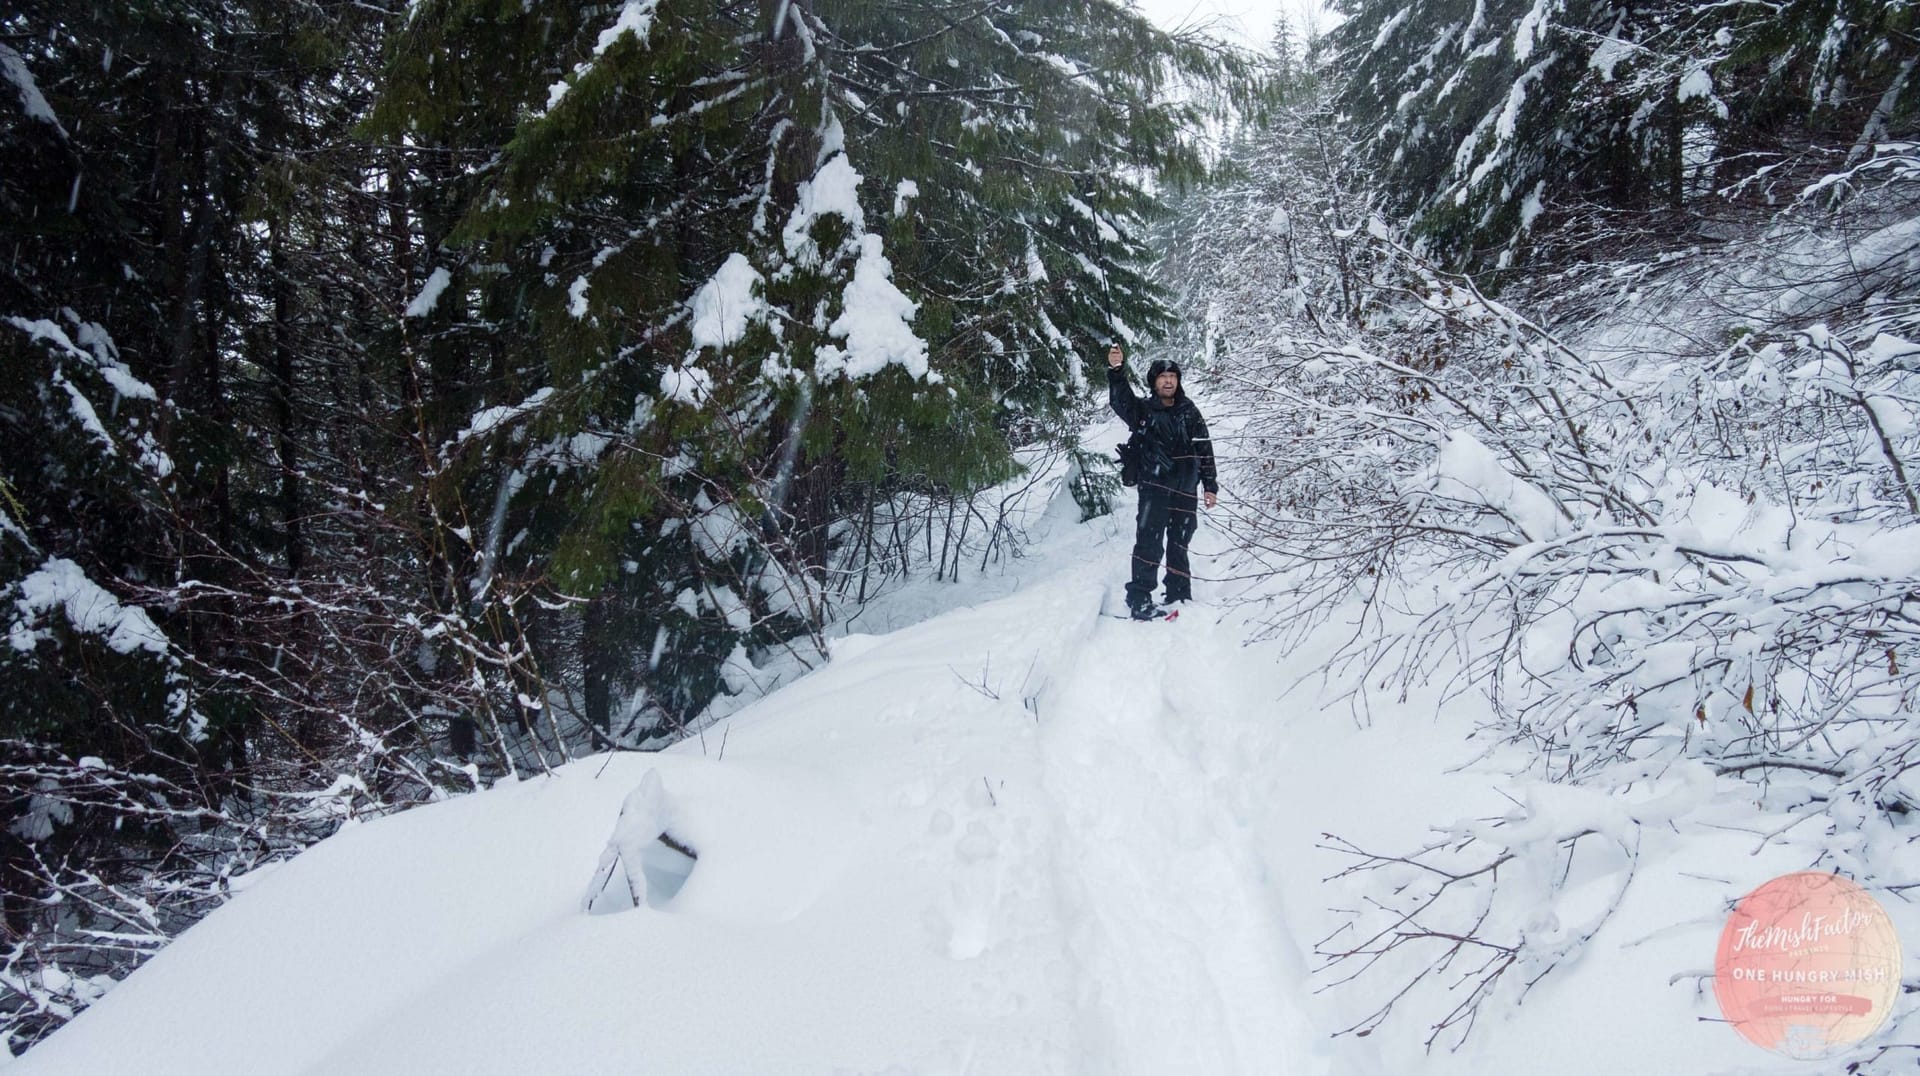
My First Time
Because anecdotes are a wonderful way to learn, I captured my first time snowshoeing! If you’ve frequented this site I don’t think anyone’s surprised that, combined with new creative toys, I’d capture this.
4 Things I Wish I Knew Earlier in My Snowshoe Journey
After a couple snowshoe trips now (still an amateur but as they say one learns fastest through real world experience), here’s a few tips that come top of the mind when starting out in snowshoeing…some may overlap the above video but there’s more I’ve learned from different terrains and all the good stuff.
#4 Trekking Poles Are More or Less a Necessity
After having tried snowshoeing with a pole in each hand, one pole due to loss of parts and a backorder, and no trekking poles because I was annoyed by the one pole rebalance–trekking poles are a game changer. Yes their basic use is to stabilize and offset pressure on knees, but in snow, balance is already offset, having two trekking poles creates a stability that also allows for speed, as well as secures footing even when snow conditions are not ideal or post-holes arise (pot holes created by people walking–they also make it hard to snowshoe).
#3 Practice/Gear Check Before Heading Out
It’s a lot easier to deal with any learning curves or pivots when at home than out on a trail. Yes, adjustments are usually done early on on any trek, but say…realizing only one trekking pole is in good form can help prep expectations (the trekking pole experience is quite fresh in my mind) or overcome the “getting to know you” phase of snowshoes. Or realize an essential thing is missing from the pack list, such as realizing the need for thicker socks.
#2 Avalanche Awareness
Given I have PNW specific experiences, mountainside snowshoeing is the majority of experience available here. It makes for great scenery as well as great risk. The Northwest Avalanche Center offers free classes (at the time of writing this all classes are virtual however they are reassessing if in person classes are possible/ideal in the upcoming year). This class allows for general awareness of avalanche chutes and how individual behaviors can increase/decrease avalanche triggers. For anyone who doesn’t want to be tied down to the limited flatland trails or have to always pay for guided snowshoeing treks, this is essential.
#1 Research Trail Difficulty and Conditions
First-timers may be eager to hit the snow and try a trail longer/harder than recommended. Or not thoroughly comb through snowfall, road conditions, and other such things. Triple check trail length, snowfall, and general conditions in and around the area. Most folk recommend a 2-4 mile first time snowshoe trek, I would subscribe to that given it is more laborious than traditional hiking–it’ll be a good test of current stamina and other expectations. Additionally, check out for news of hikers on snow-trails. This is indicative of the risk of post holes. Twisted ankles or worse are no one’s friend.

Stay Hungry
XOXO
Mish ❤