Updated December 31, 2021
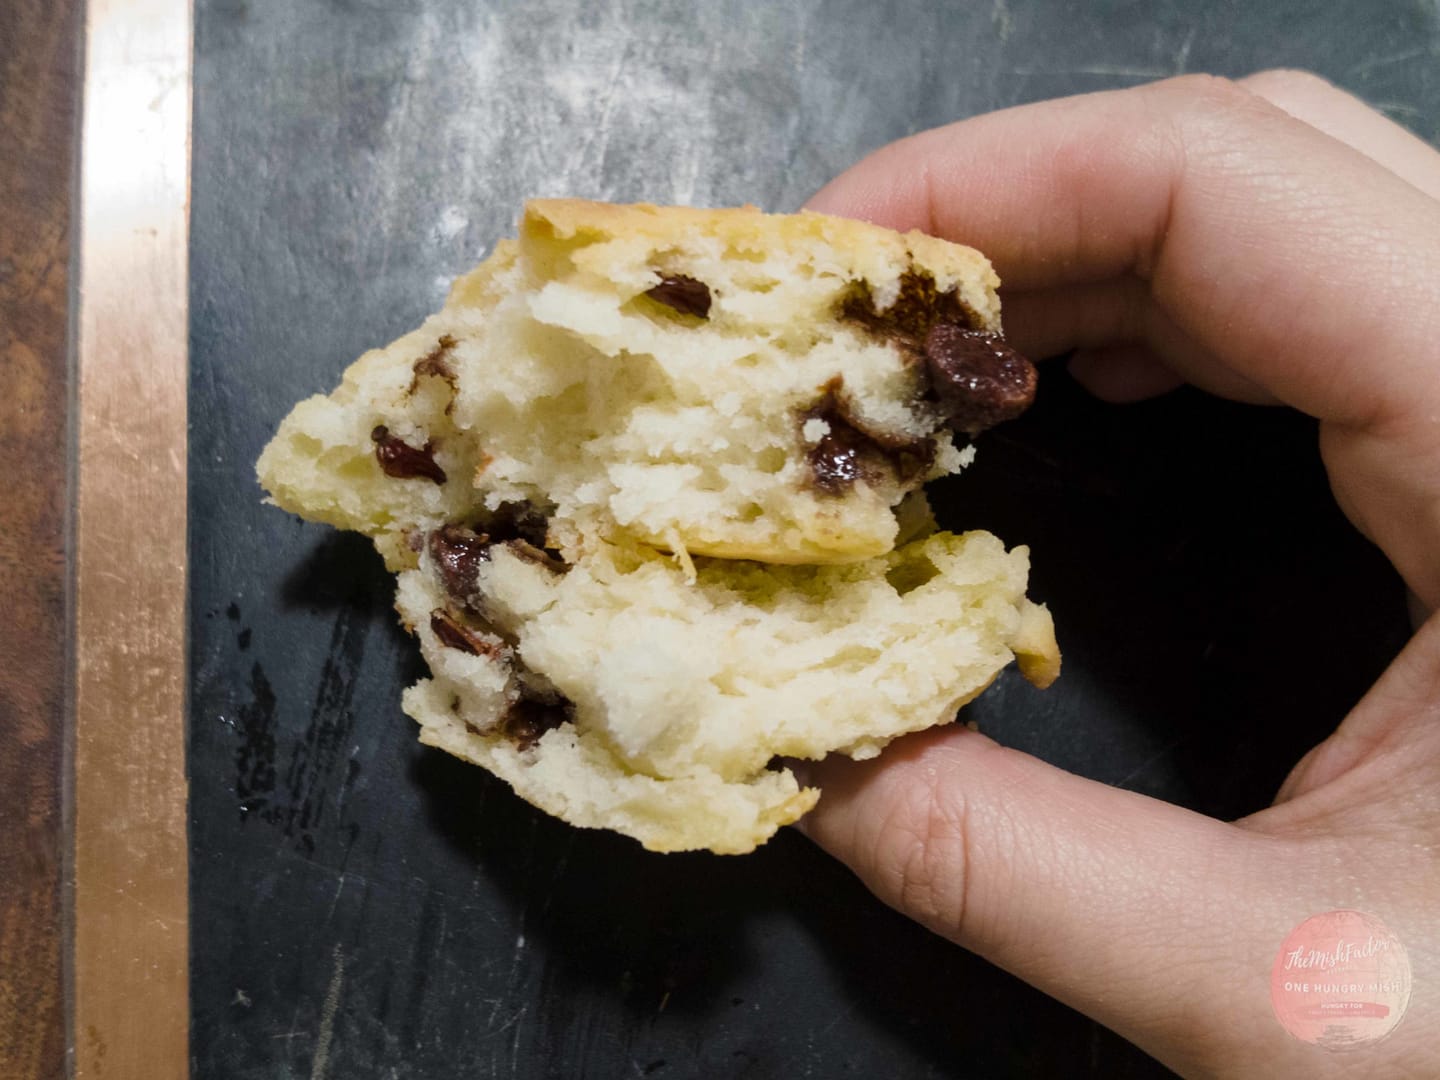
Scones are truly a treat. A fresh cup of coffee (or tea), some jam to juxtapose the crunchy joy and fresh crumbs…a concoction of success and serenity all in one. That said, I feel that people are intimidated by making their own scones. In addition to that aged “to cook” list (all completed except for the falafel…my motivation was quite lacking there) the scone has been a regular rotation as I forayed into the history of and variations that everything from Nordic chefs to stay at home parents swore by.
(Jump down to the recipe here!)
Now I’m about to say something scandalous…something that will likely ban me from Bon Appetit–a scone is colloquially a crumbly biscuit. Baking powder performs the same, butter similarly so. The difference is texture driven. Do you want something crumbly? Do you want something flaky? If yes, scone on; if no, biscuit away.
So what are scones made of?
- Butter [unsalted; frozen/chilled]
- Baking Powder
- Flour
- Milk
- Salt
- Sugar
- Flavor
When these 7 items combine you end up with a treat. There is some science behind the base combo listed here.

Scone Science–Ingredients Matter!
Butter
Frozen butter prevents melting. When working with warm hands or weather, frozen over chilled (and then grated) works everytime. The ingredients combine fine while the butter still frozen. The pockets of butter create a crumb-like texture and allow some slight flakiness to the finished product. (Banish any comparison to it and a biscuit, the flakiness is not comparable.) If hand mixing, grate (for finely cube) the frozen butter; if using a machine (I use my Vitamix pulsed) cubed is sufficient.
Milk
Of all sorts of variations are often suggested. Buttermilk for tang, heavy cream for a more dense crumb, or standard milk too–any can work as long as you mind the wet to dry ratio, you want a crumbly dough before you add the wet (I say wet vs milk since some like to flavor with maple syrup/honey,etc.) and a slightly sticky dough after adding in the wet. If your recipe calls for buttermilk remember it’s more for flavor. The baking powder does the heavy lifting.
Baking Powder
As alluded to above, baking powder is the leavening (rising) agent. The exception being for sourdough discard scones (honestly my favorite kind; recipe I use linked) as your sourdough yeast provides the leavening for the recipe. Some also add an egg to leaven the dough further–I avoid adding an egg since usually those are sparse in supply when I want to make some.
Inclusions & Infusions
Add so much life to a scone. Yes they’re great with jam, clotted creams, butter, honey, etc. but to be honest, the true beauty of a scone is how a handful of ingredients can come together and breathe sustenance and life. My default is chocolate chips or a dried seasonal fruit, usually 1/2 a cup’s worth of inclusion added with the wet as you don’t want to overwork the dough and allow the butter to melt which will impair the texture. Infusion, is great for subtle add ins like teas (although personally I am tweaking that strength as the last batch only dyed the scone).

For those in need of more structure, here is a base line recipe (Cobbled between one too many scones and a repository of household cookbooks):
Ingredients
Makes 8 scones
- 240 g (2 cups) all-purpose flour
- 1 stick (113g or 8 tbsp or 1/2 cup) unsalted butter, frozen + grated/cubed
- 6g (1 tsp) salt
- 15g (1 tbsp) baking powder
- 15g (1 tbsp) sugar
- 150g (3/4 cup) whole milk*
- 1/2 cup inclusions, ex. chocolate chips**
Steps
- Preheat oven to 425°F (or 218°C). Make sure oven rack is in the middle.
- Mix dry ingredients, if using a machine pulse to blend.
- Add butter and mix until crumbly texture occurs, be careful to not overwork things!
- Add milk (and inclusions) and mix until a sticky dough comes together.
- Then, dump dough unto a lightly floured surface and pat into a 8.5″ circle. Cut into 8 equal pieces. Smaller scones mean less baking time.
- Bake for 12-15 minutes.
- Finally, let cool and enjoy.
Notes:
*If making fluffier “Washington state fair” scones, use 300g milk and 300g flour instead of what’s listed (plus additional flour until not sticky when patting into a circle). Follow the rest of the directions as follows.
*For a denser, richer scone, use heavy cream or buttermilk instead of whole milk
**Used dried inclusions, water migration will change the texture of the scone
**If using fresh zest or grated ginger use no more than 1 tbsp…there is such thing as too much of a good thing
These keep for about 5 days…honestly they’re usually gone by day 5 so it’s hard to keep track beyond that!
Also…I’d be chagrin to end this post without acknowledging the friends who coerce me into food shenanigans, so to the bride-to be and the bomb shopping co-conspirator, thanks for telling me no new plants until I shared a post 😉

Stay Hungry
XOXO
Mish ❤
Looking for other baking ideas?
- Brown Butter Miso Chocolate Chip Cookies
- Ube Pie (Purple “Sweet Potato” Pie)
- Short Bread (Patterned and Classic)

